Color is Glowing Somewhere
…
It feels like forever since I have done a beauty post on the blog! I’ve been giving myself an at home manicure on and off for a little more than three years now. So I wanted to share my experience with you and the products I use to achieve the best mani. I don’t think I would have ever said this, but I actually enjoy doing my nails at home so much more than going to the salon. Timewise, it just makes sense, especially during this stage in my life with a toddler!
Background
I used to go every two weeks to the salon for a gel manicure. I just feel better when my nails are done! Every now and then I would take a break. But I was always right back to it. That is until Covid hit and I had to figure out a way to do them myself. So I decided to buy all the tools and start learning how to do the best at home manicure that I could. It took some time and practice, but I have finally gotten the hang of it. And I actually now prefer doing them myself. It saves a lot of time- and money!
I went thru a phase again of getting gel manis at the salon last fall. And winter came and my nails needed a break. I told myself I was going to take a month off and then I could start back up. Well, it is June now and I still haven’t started back up. I’ve been doing them at home and like it so much more that I think I am going to stick to this moving forward.
Steps I use for an At Home Manicure
Here is how I do my at home manicure:
- Take off any old polish you might have one. I use a cotton ball and this nail polish remover. When I was pregnant I used this because it doesn’t have the harsh smell of nail polish. It does take a little longer to get off, but it does work. And is probably a lot better for you.
- Cut your nails with nail clippers. I like mine short so I always do this. And this is one of the reasons I like doing them myself- I can keep my nails nice and short. Make sure you cut straight across if you like square shaped nails.
- File your nails with a nail file. I hate this part haha. But it really does help shape your nails and make them so much better looking.
- I then use this cuticle softener and add a little bit to each nail. And I use this to push my cuticles back.
- I use this to cut the cuticles and get everything looking smooth. This took a lot of practice and trust! But you will eventually get the hang of it.
- Buff all your nails using this.
- Add oil to your cuticles. This is the one I use.
- I then wash my hands really well. And once they are dry I take a cotton ball filled with nail polish remover and go over each nail to remove any residue.
- Inspect your nails to make sure you aren’t missing anything that needs to be trimmed or filed more.
- Now it’s time to paint. I always do a base coat, polish (1-2 coats) and a top coat.
- If you make a mistake, I put a little nail polish remover on this brush to remove it. Make sure you are doing this right away. It makes it harder to get off if you let it sit longer.
- Enjoy your at home manicure!
Favorite Polishes
My favorite nail polish brand is Nails Inc. You can order direct from their site or Target or Amazon also carries some of the line The brush inside the bottles makes it really easy to spread the polish on your nails. I find it is less messy than any other nail polish brand. I use their base coat and top coat and I have a few colors that I use (more on that in a minute). The top coat is the best because it dries your manicure very fast!
Some of my favorite colors include That Euphoria Life and Must Be Magic. These are really pretty because they are light and if they chip or you mess up, it’s harder to see. They are also really fun to mix together. I will do one coat of the purple and another coat of the blue and it always turns out really pretty.
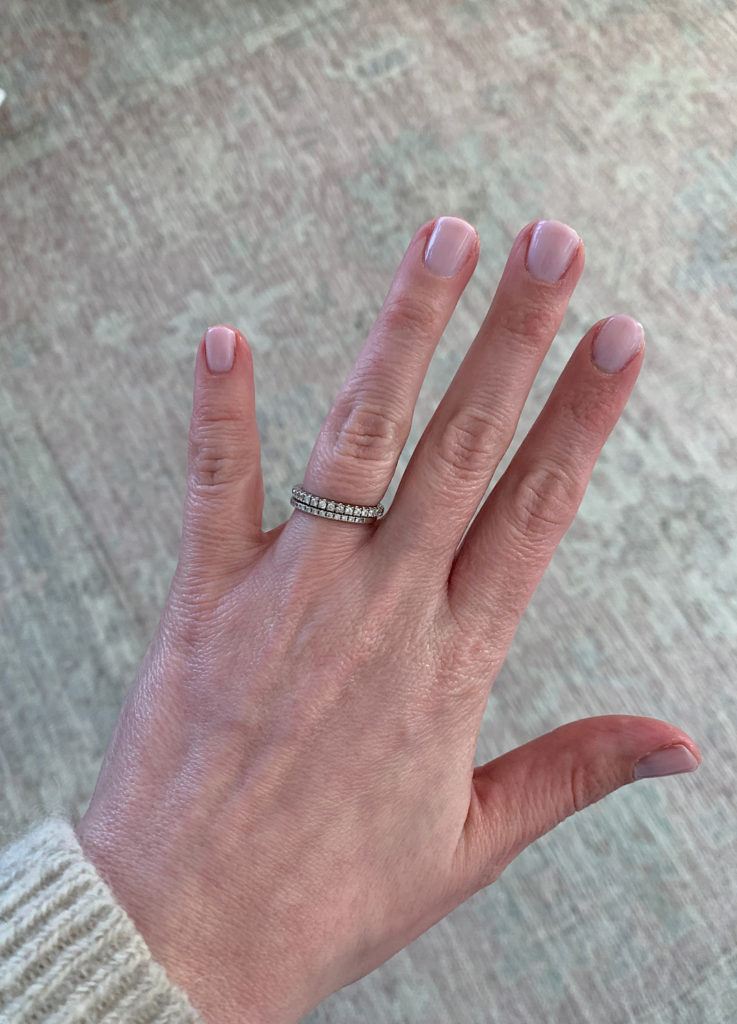
I also like Glowing Somewhere, pictured above. It is a really pretty milky white, but also has a hint of pink. Will look great with a tan this summer! And can’t forget a true red- Paddington Peace Out. And this berry color is a favorite for Fall- Meet Me On Regents Street.
Gel Manicure

Color is Poppy Red
…
A few weeks ago, a brand reached out to me and wanted to send me an at home gel manicure kit so I decided to try it and it is really easy. And gives you the best, long lasting manicure. I was a little nervous about what it would look like to remove the polish, but it was really easy with their remover. It does take a little longer to do the mani because you have to use the light, but it does last a lot longer.
The first time I used this gel manicure set was right before Memorial weekend. So Sloane was home an extra day, we were swimming, gardening, it was really hot and I was doing dishes and making a million meals-and no chips! With a regular polish, it would have for sure chipped.
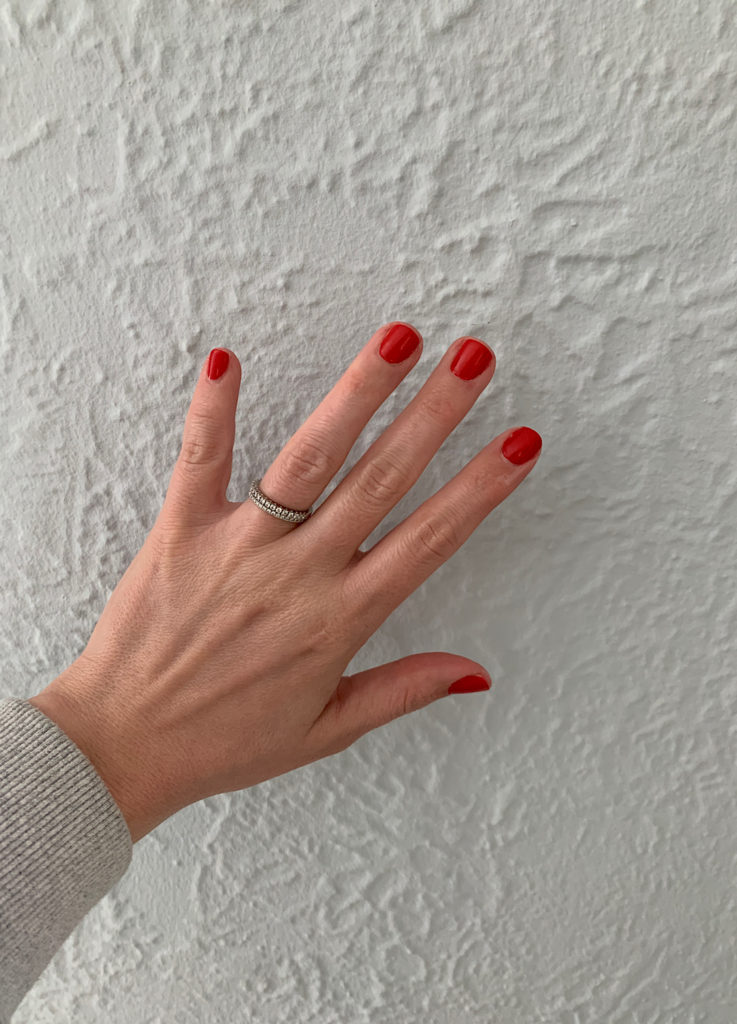
I have colors Poppy Red (pictured above) and Lilas and I want to get some more! Lilas is probably a color I would not have chosen myself- it is a really pretty light blue color. I mean I do love that color- my whole house is that color! But it is a fun change. And actually Kurt kept mentioning how pretty and fun the color was! I forgot to snap a pic of when I wore that color, but it is really pretty on. And the Poppy Red is a true red. Perfect for the upcoming 4th of July holiday. That’s what I will be wearing!
The manicure process is a little longer, but I do it in steps. I might take off the polish before I start work. File them on my lunch break and then paint them after Sloane goes to bed. It saves me so much time doing it this way.
I know buying all of these tools and polishes initially can be a little more expensive, but in the long run it is so much cheaper, safer and such a time saver! It took a little time for me to feel comfortable with what I was doing, but you do eventually get the hang of it all.
Shop the Post
xoxox Amanda
You may also like Navy Hair Care Review


