I am so excited to share our coastal bathroom update with you today!! It’s been done for a while now so I am very late in sharing. But it’s really good so hopefully it’s worth the wait! haha I am going to show you the before, during, and the beautiful after photos! And I will share a breakdown of cost plus links to everything.
This bathroom is on our third floor and connects to a bedroom. At one point it was likely attic and storage space and an owner turned it into a bedroom plus added a bathroom. It’s a really nice and cozy space. Right now it is a guest bedroom but someday when Sloane gets a little older (if we are still in the same house), we will move her up there. Then she will have her own little oasis.
Our Coastal Bathroom Update
I will share a before photo in the next section, but the bathroom wasn’t terrible to begin with. It just had a lot of elements we disliked. Last year right around this time, football had ended and if you know Kurt you know that football consumes a huge part of his life in the fall and winter haha. He’s a huge fan! And after the Super Bowl, he was bored and looking for a project so out of the blue, he decided this bathroom needed to be re-grouted. He quite literally did it all by hand. What was suppose to be a quick weekend project turned into weeks long. He’s meticulous. But sometimes with these old homes you just have to move on haha.
One night I was checking in on his progress and I realized how good this bathroom could look with just a little paint and updating. The tile was in good shape and it was white which we all know I love 🙂 We had this weird wood accent wall that we both disliked. It was not a wood you should use on a wall because it was really rough. And not to mention, it was falling off the wall.
It dawned on me that adding shiplap to the walls would look so good in this space! Kurt loved the idea too. We thought it would be an easy DIY but later on we decided to hire it out and I’m so glad we did. More on that later.
Before
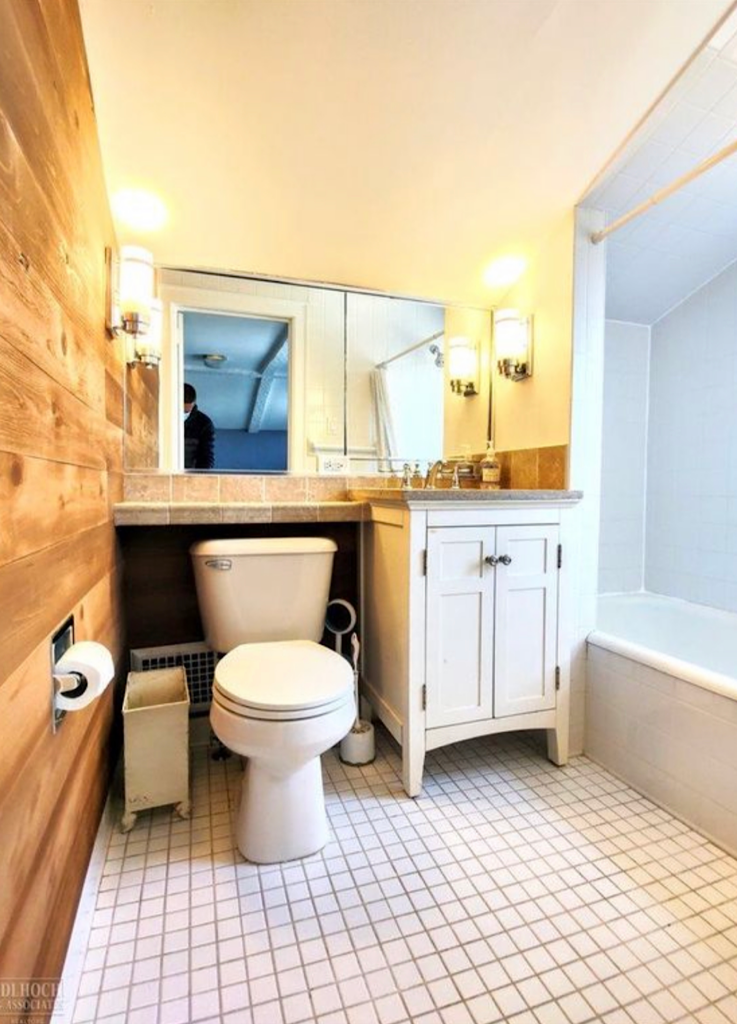
Here is the before of the bathroom. This was the listing photo. It was just kind of dirty and grimy and not our style at all. Initially, I was planning on gutting this bathroom. I didn’t think anything could be saved. But once Kurt started the grout, I realized it just need a little re-fresh to make it the coastal bathroom of our dreams.
During
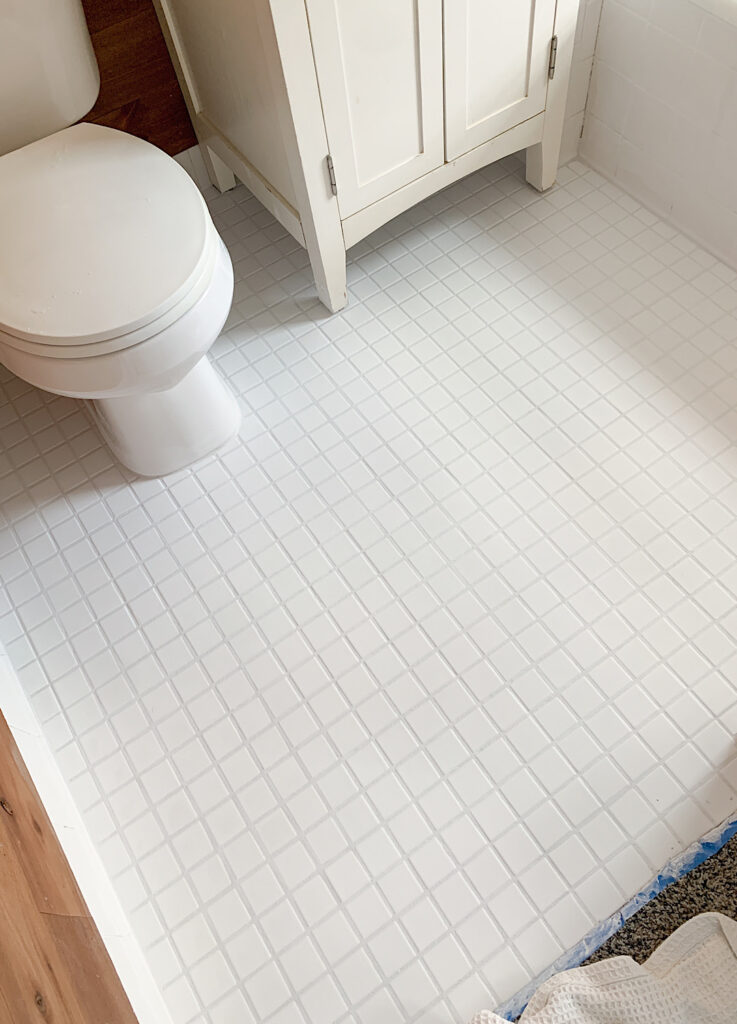
This was after Kurt grouted the floors. Doesn’t it all look amazing?! It’s crazy how much whiter it looks and fresh. Compare it to the before photo above! This is when my creative wheels started to spin and I realized we could make this space great with just a few small updates.

My first thought was to ripe out the wooded wall. It gave us splinters every time we touched it and it was falling apart. I figured the wall would be pretty beat up underneath and we didn’t really want to deal with that haha so I had the idea to add shiplap to the walls. I’m actually not a huge fan of shiplap, but in this case it felt like it was our only option. And actually, I’m really happy with how it turned out!
We were originally going to DIY the shiplap, but I am so glad we decided in the end to hire someone. It was a pretty big job and a lot of measuring, cutting, etc. It turned out amazing. And I don’t think it would have had Kurt and I attempted it. Also, we might not still be married lol.
It took our handy man a day and a half to finish the shiplap. He also had his brother helping because walking up and down two flight of stairs for every cut was a lot!
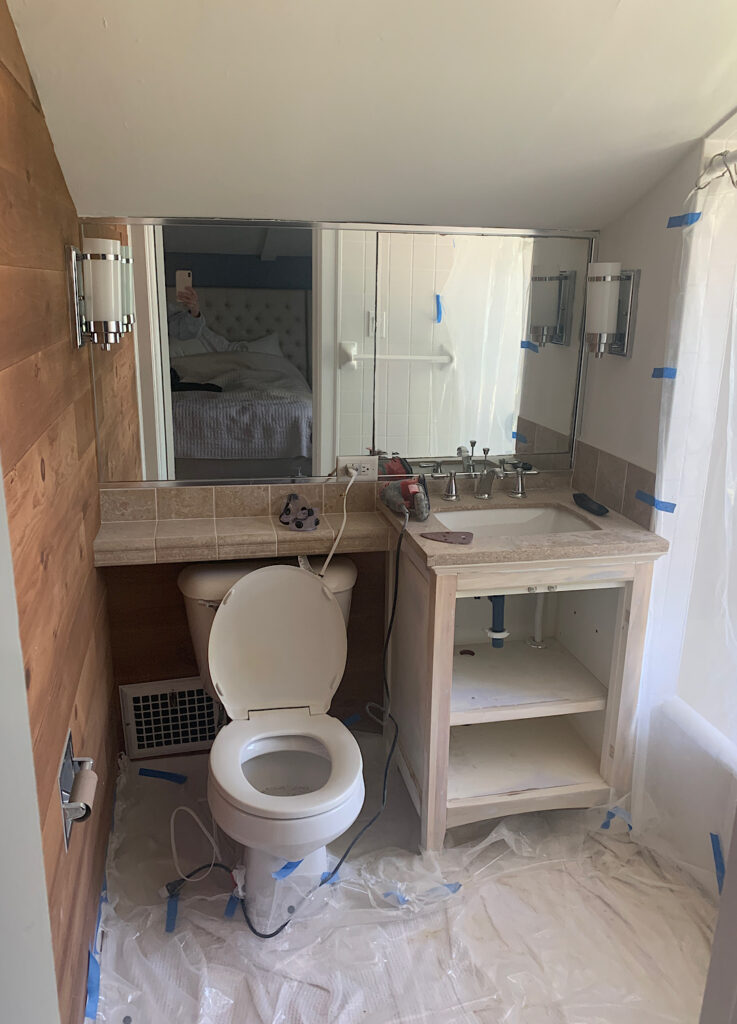
One other thing we decided to change as the shiplap was being installed was the removal of the vanity and that little ledge above the toilet. We figured we would eventually update the vanity and just paint it for now. But he had pulled it out when he was installing the shiplap. And I was like just leave it out haha.
And we also decided to remove that little ledge above the toilet. It was nice having it because it offered up some extra counter space seeing that this is a really small bathroom. It wasn’t going to sit right with the shiplap- it would not have been smooth. And this was the only time we would be able to remove it and still have the shiplap look nice and match up, so we decided to demo that part too.
After
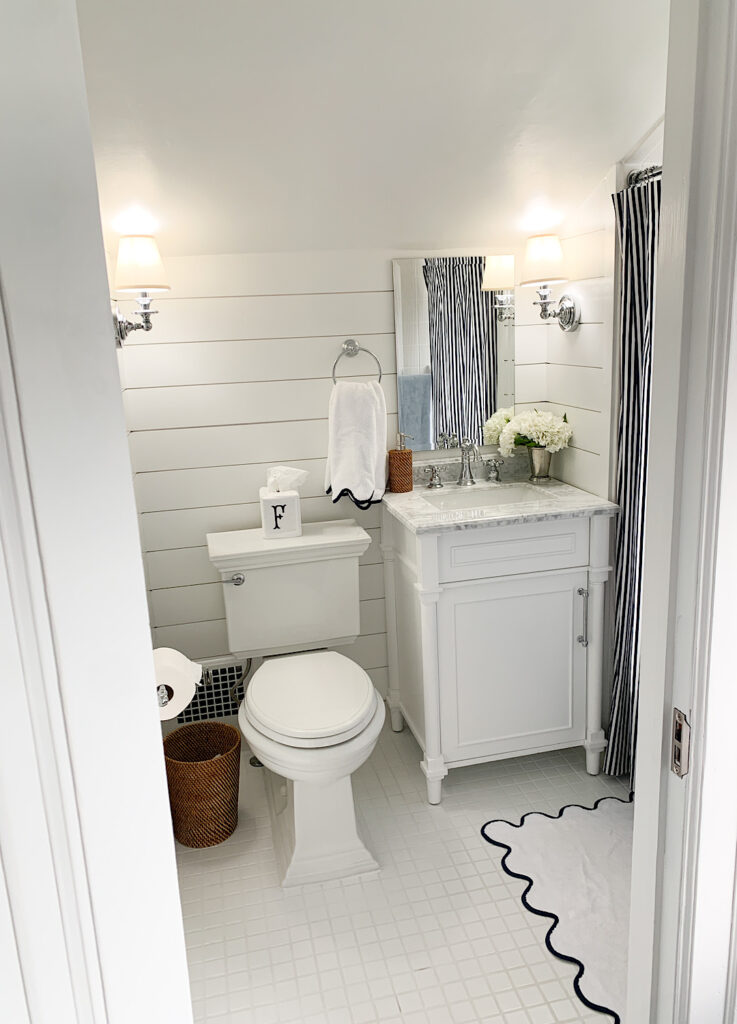

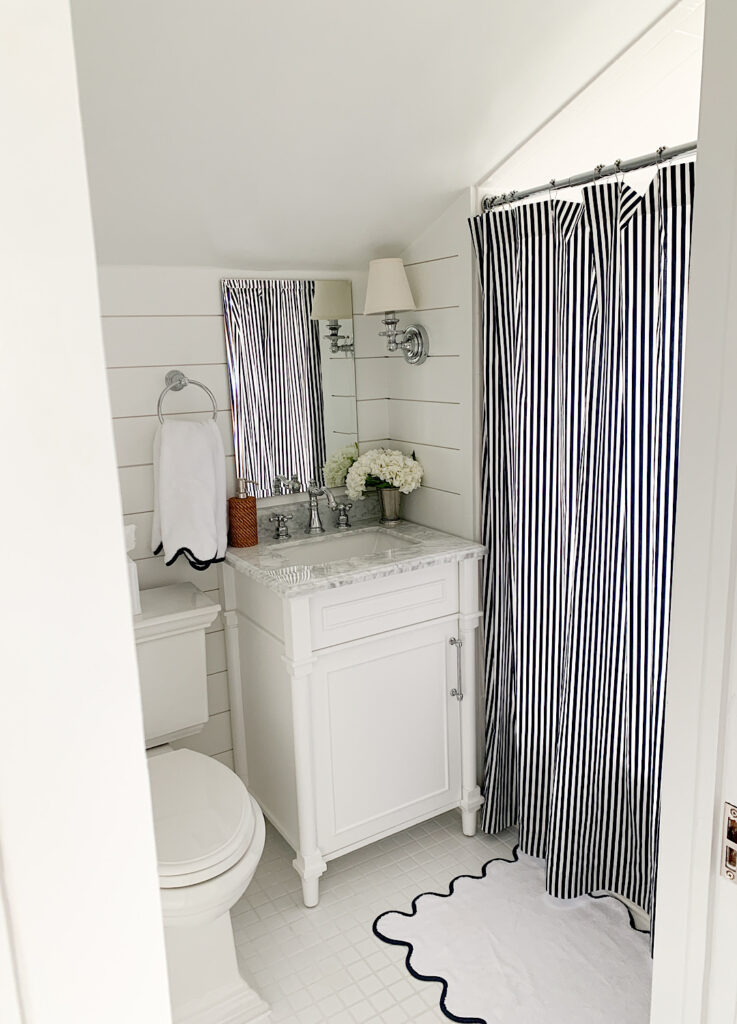
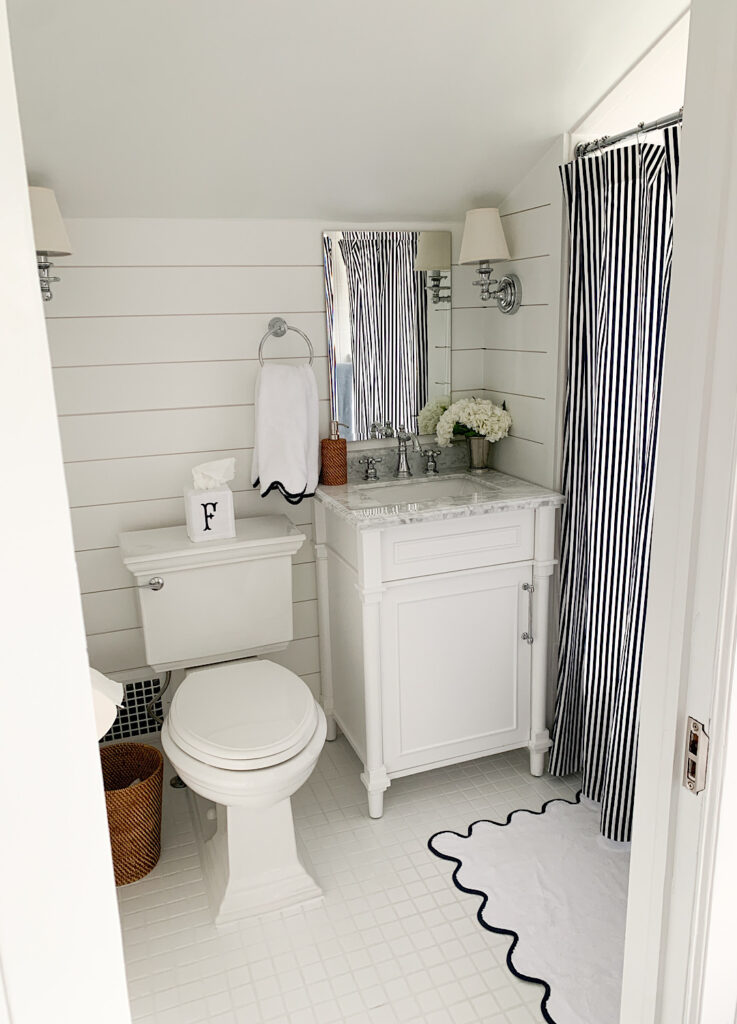
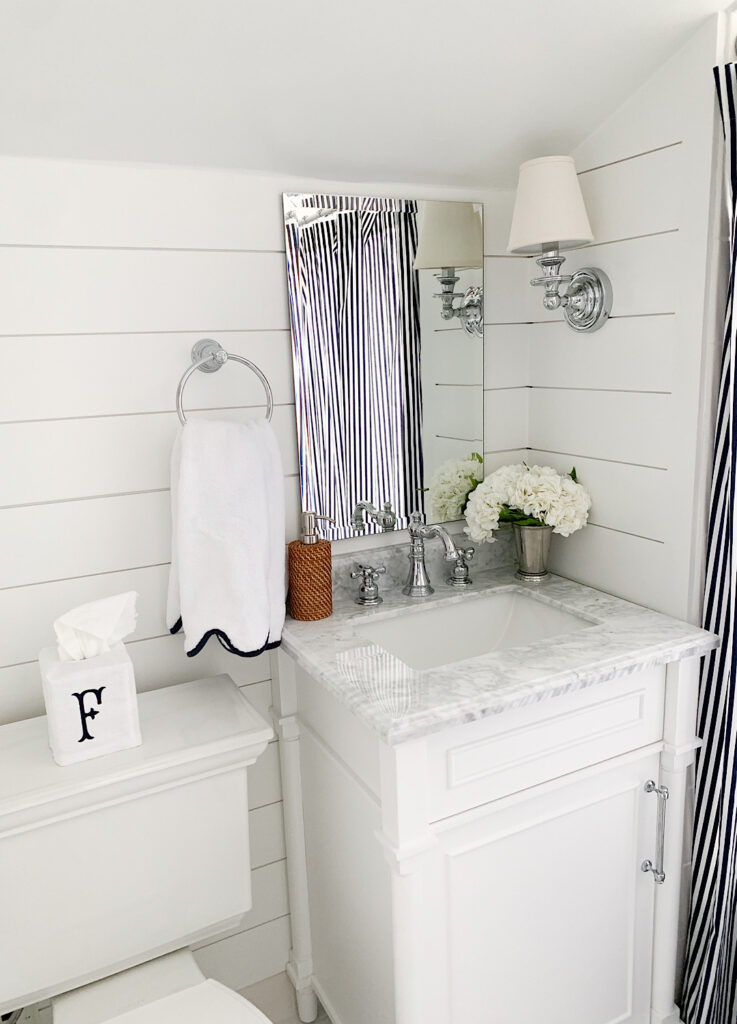
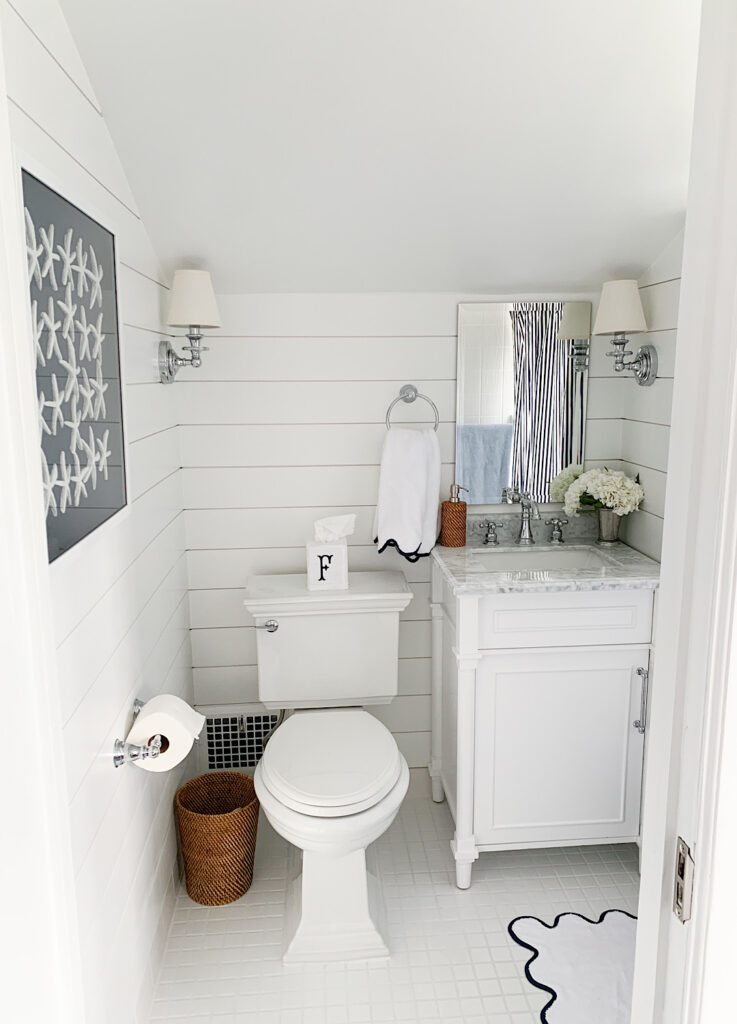
And here is the after!! Doesn’t it look amazing?! We love it so much. It feels fresh and so clean. And it’s so much brighter. This was my original design plan and it really looks nothing like it haha. While I still love that design this design just felt better.
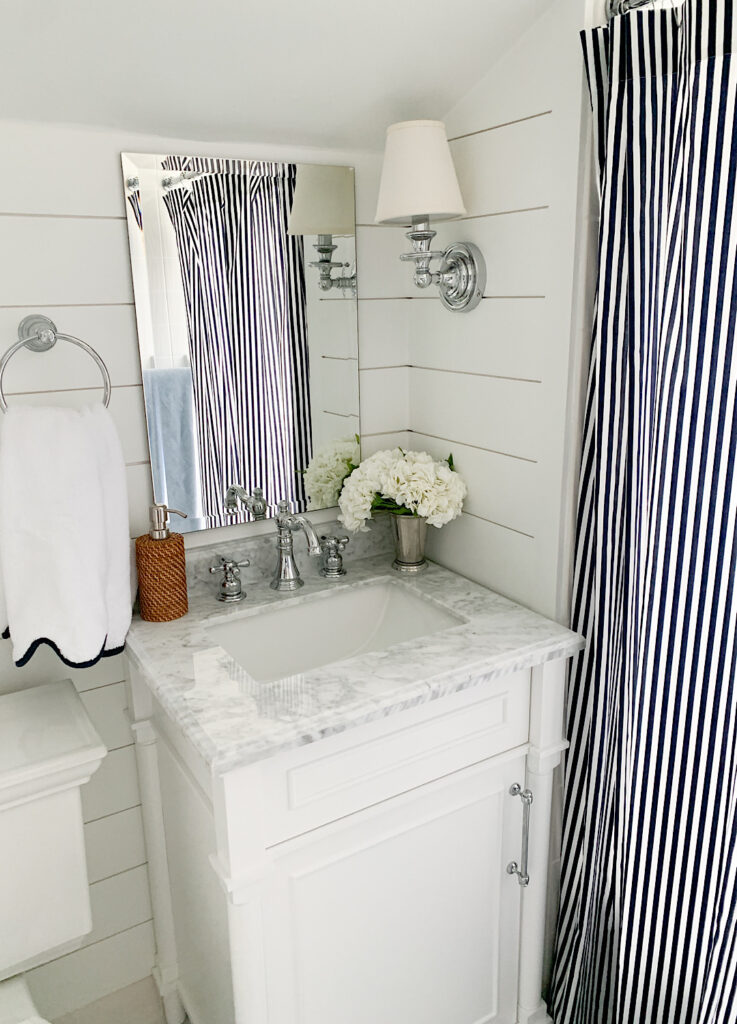
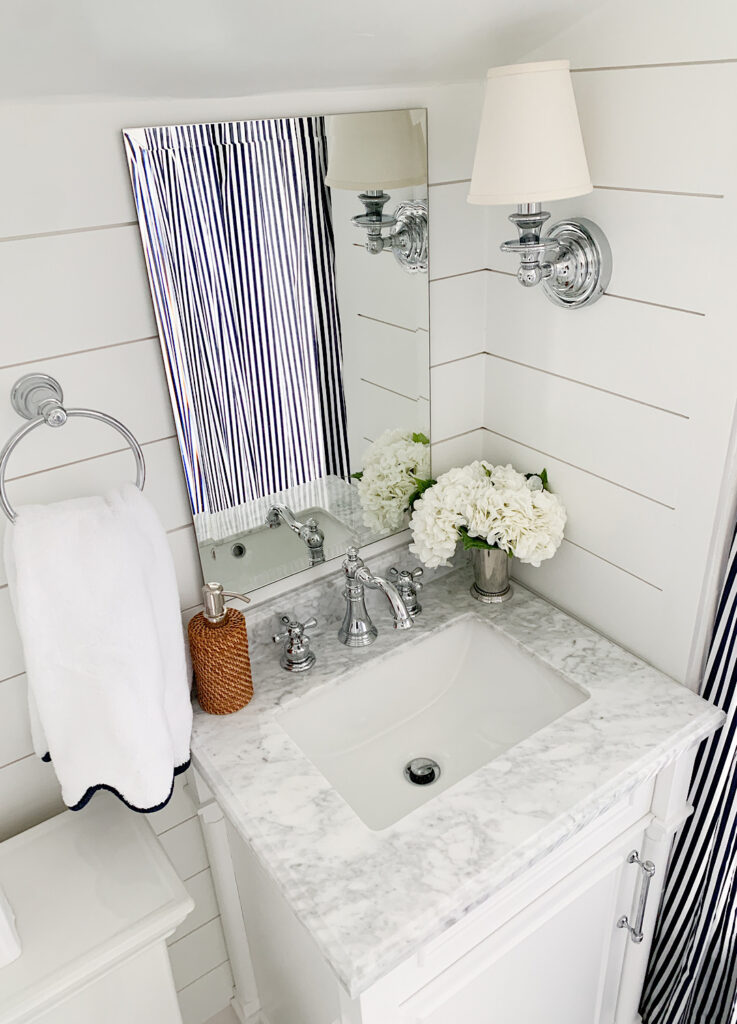
We replaced the cabinet with this one from Home Depot. And for the price, I am really impressed with it. It does go on sale periodically, so if you can, I would wait for a sale. It comes with a real marble top that is really pretty. And then we had this faucet installed.
We also replaced the toilet with this one. And I know it’s weird to say, but I love it so much! You can absolutely get cheaper toilets, but I really like the look of this one. Eventually, the plan is to replace the toilet in our powder bath with this one.
I had a hard time finding sconces that would fit in this space because of the coved ceilings. You might remember these from my original design plan. Well, I ordered them and they were way too tall. I didn’t even think to measure. So I ended up returning them and ordering these which I used in our powder bath too. I really like how simple and classic they are. Eventually, I might add a fun shade to them, but for now I really like them in this space.
I think I bought and returned at least six different mirrors for this space! I had a really hard time finding one that I liked. And that was small enough for this space. In the end, I decided to order a really simple one and actually love it.
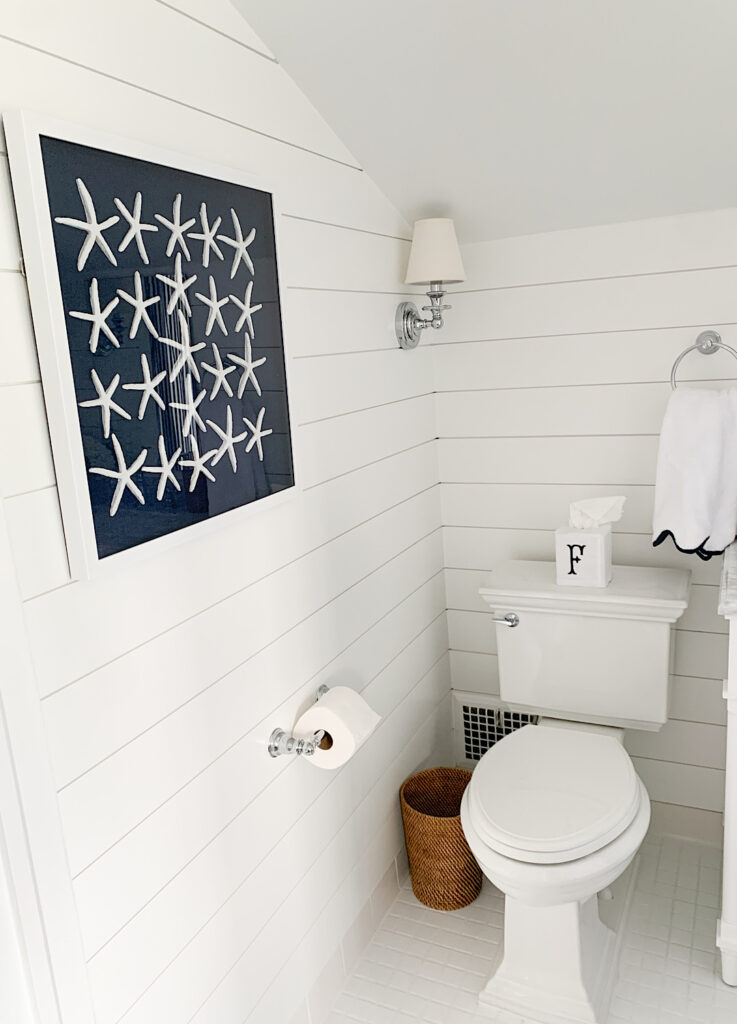
And lastly, I found this piece of artwork that I just loved!! But the price was $$$ and I didn’t want to spend that for a guest bathroom. I ended up doing a Google image search and found this one at Target for under $100. They are almost identical! And it really makes the space and ties it all together!
Cost Breakdown
The cost of the shiplap was around $250. This was the one we used. And then our handyman charged us around $1200 for installation of the shiplap. We also had him come back and install the toilet, vanity, faucet, etc. and I believe that was around $500. I painted the space myself to save money and I used paint we already had so that was free!
The toilet was $400, the vanity under $500 and the faucet $155. So in total it cost us around $3k for the big ticket items + what I spent on accessories to make this the coastal bathroom of our dreams!
Links
Here is everything we used in our coastal bathroom!
- Shiplap
- Vanity
- Toilet
- Mirror
- Faucet
- Sconces
- Hydrangeas and Julep Cup
- Toilet Paper Holder
- Soap Dispenser
- Trash Can
- Tissue Box Cover
- Artwork
- Bath Mat
- Hand Towel
- Shower Curtain (similar here)
- Curtain Rod
- Shower Curtain Rings
This bathroom took us about six months to complete! It wasn’t even on our list to re-do anytime soon. But I am so glad we tackled it because it came out amazing!
xoxox Amanda
You may also like Completed Powder Bath Reveal